
How to Play Xbox on Laptop with HDMI How to Play Xbox on Laptop with HDMI
Contents show
How to Connect Xbox to Laptop: A Complete Guide
Are you tired of playing Xbox games on a small screen and looking for a way to connect your Xbox to your laptop? Look no further, as we’ve got you covered. In this article, we’ll show you how to connect your Xbox to your laptop in a few simple steps.
Why Connect Xbox to Laptop?
Connecting your Xbox to your laptop has several advantages. First, it allows you to play your favorite games on a larger screen. Second, it enables you to use your laptop as a monitor, which can come in handy when you don’t have a TV or monitor available. Lastly, connecting your Xbox to your laptop allows you to stream your gameplay to platforms like Twitch or YouTube.
What You Need
To connect your Xbox to your laptop, you’ll need the following items:
- Xbox console
- Laptop
- HDMI cable
- HDMI input on your laptop
- Xbox app (installed on your laptop)
Steps to Connect Xbox to Laptop
Here are the steps to connect your Xbox to your laptop:
- Turn on your Xbox console and sign in to your account.
- Connect one end of the HDMI cable to the HDMI output on your Xbox console.
- Connect the other end of the HDMI cable to the HDMI input on your laptop.
- Open the Xbox app on your laptop and sign in to your account.
- Click on the “Connection” icon on the left-hand side of the app.
- Select your Xbox console from the list of available devices.
- Click on “Connect” to establish the connection between your Xbox and laptop.
Congratulations! You’ve successfully connected your Xbox to your laptop. You can now enjoy playing your favorite games on a larger screen.
Troubleshooting
If you encounter any issues while connecting your Xbox to your laptop, here are some troubleshooting steps you can follow:
- Make sure that your laptop has an HDMI input. Not all laptops have an HDMI input, so you may need to use an HDMI adapter.
- Ensure that both your Xbox console and laptop are turned on.
- Check that the HDMI cable is connected properly to both the Xbox and laptop.
- Make sure that you have the latest version of the Xbox app installed on your laptop.
- Restart your Xbox console and laptop if the connection is not established.
How to Configure Display Settings for Xbox: A Comprehensive Guide
Are you having trouble configuring the display settings for your Xbox? Do you want to optimize your gaming experience by adjusting the display settings? Look no further, as we’ve got you covered. In this article, we’ll show you how to configure display settings for Xbox in a few simple steps.
Why Configure Display Settings for Xbox?
Configuring display settings for Xbox has several advantages. First, it allows you to optimize your gaming experience by adjusting the brightness, contrast, and color settings to suit your preferences. Second, it enables you to set up your Xbox for the best possible display quality, ensuring that your games look their best. Lastly, configuring display settings for Xbox allows you to troubleshoot any display issues you may be experiencing.
What You Need
To configure display settings for Xbox, you’ll need the following items:
- Xbox console
- TV or monitor
- HDMI cable
- Internet connection (for downloading updates)
Steps to Configure Display Settings for Xbox
Here are the steps to configure display settings for Xbox:
- Turn on your Xbox console and sign in to your account.
- Connect the HDMI cable to the HDMI output on your Xbox console.
- Connect the other end of the HDMI cable to the HDMI input on your TV or monitor.
- Press the Xbox button on your controller to open the guide.
- Navigate to “System” and select “Settings.”
- Select “Display & sound.”
- Select “Video output.”
- Choose your desired resolution and refresh rate.
- Select “Calibrate HDTV” to adjust the picture size and aspect ratio.
- Adjust the brightness, contrast, and color settings to suit your preferences.
Congratulations! You’ve successfully configured the display settings for your Xbox. You can now enjoy playing your favorite games with optimized display settings.
Troubleshooting
If you encounter any issues while configuring display settings for Xbox, here are some troubleshooting steps you can follow:
- Ensure that your TV or monitor supports the resolution and refresh rate you’ve chosen.
- Make sure that the HDMI cable is connected properly to both the Xbox and TV or monitor.
- Check for updates and download any available updates for your Xbox console.
How to Configure Audio Settings for Xbox: A Complete Guide

Are you having trouble configuring the audio settings for your Xbox? Do you want to enhance your gaming experience by adjusting the audio settings? Look no further, as we’ve got you covered. In this article, we’ll show you how to configure audio settings for Xbox in a few simple steps.
Why Configure Audio Settings for Xbox?
Configuring audio settings for Xbox has several advantages. First, it allows you to optimize your gaming experience by adjusting the sound quality to suit your preferences. Second, it enables you to set up your Xbox for the best possible audio quality, ensuring that you can hear every detail in your games. Lastly, configuring audio settings for Xbox allows you to troubleshoot any audio issues you may be experiencing.
What You Need
To configure audio settings for Xbox, you’ll need the following items:
- Xbox console
- TV or monitor with built-in speakers or audio system
- HDMI cable or audio cable
- Internet connection (for downloading updates)
Steps to Configure Audio Settings for Xbox
Here are the steps to configure audio settings for Xbox:
- Turn on your Xbox console and sign in to your account.
- Connect the HDMI cable or audio cable to your Xbox console.
- Connect the other end of the HDMI cable or audio cable to your TV or monitor with built-in speakers or audio system.
- Press the Xbox button on your controller to open the guide.
- Navigate to “System” and select “Settings.”
- Select “Display & sound.”
- Select “Audio output.”
- Choose your desired audio format and bitstream format.
- Select “Volume” to adjust the volume level.
- Adjust the audio settings to suit your preferences.
Congratulations! You’ve successfully configured the audio settings for your Xbox. You can now enjoy playing your favorite games with optimized audio settings.
Troubleshooting
If you encounter any issues while configuring audio settings for Xbox, here are some troubleshooting steps you can follow:
- Ensure that your TV or monitor with built-in speakers or audio system is turned on and set to the correct input.
- Make sure that the HDMI cable or audio cable is connected properly to both the Xbox and TV or monitor with built-in speakers or audio system.
- Check for updates and download any available updates for your Xbox console.
How to Play Xbox Games on a Laptop: A Comprehensive Guide

Are you tired of playing Xbox games on a small screen and looking for a way to play them on your laptop? Look no further, as we’ve got you covered. In this article, we’ll show you how to play Xbox games on a laptop in a few simple steps.
Why Play Xbox Games on a Laptop?
Playing Xbox games on a laptop has several advantages. First, it allows you to play your favorite games on a larger screen. Second, it enables you to use your laptop as a monitor, which can come in handy when you don’t have a TV or monitor available. Lastly, playing Xbox games on a laptop allows you to enjoy gaming on the go.
What You Need
To play Xbox games on a laptop, you’ll need the following items:
- Xbox console
- Laptop
- HDMI cable
- HDMI input on your laptop
- Xbox app (installed on your laptop)
Steps to Play Xbox Games on a Laptop
Here are the steps to play Xbox games on a laptop:
- Turn on your Xbox console and sign in to your account.
- Connect one end of the HDMI cable to the HDMI output on your Xbox console.
- Connect the other end of the HDMI cable to the HDMI input on your laptop.
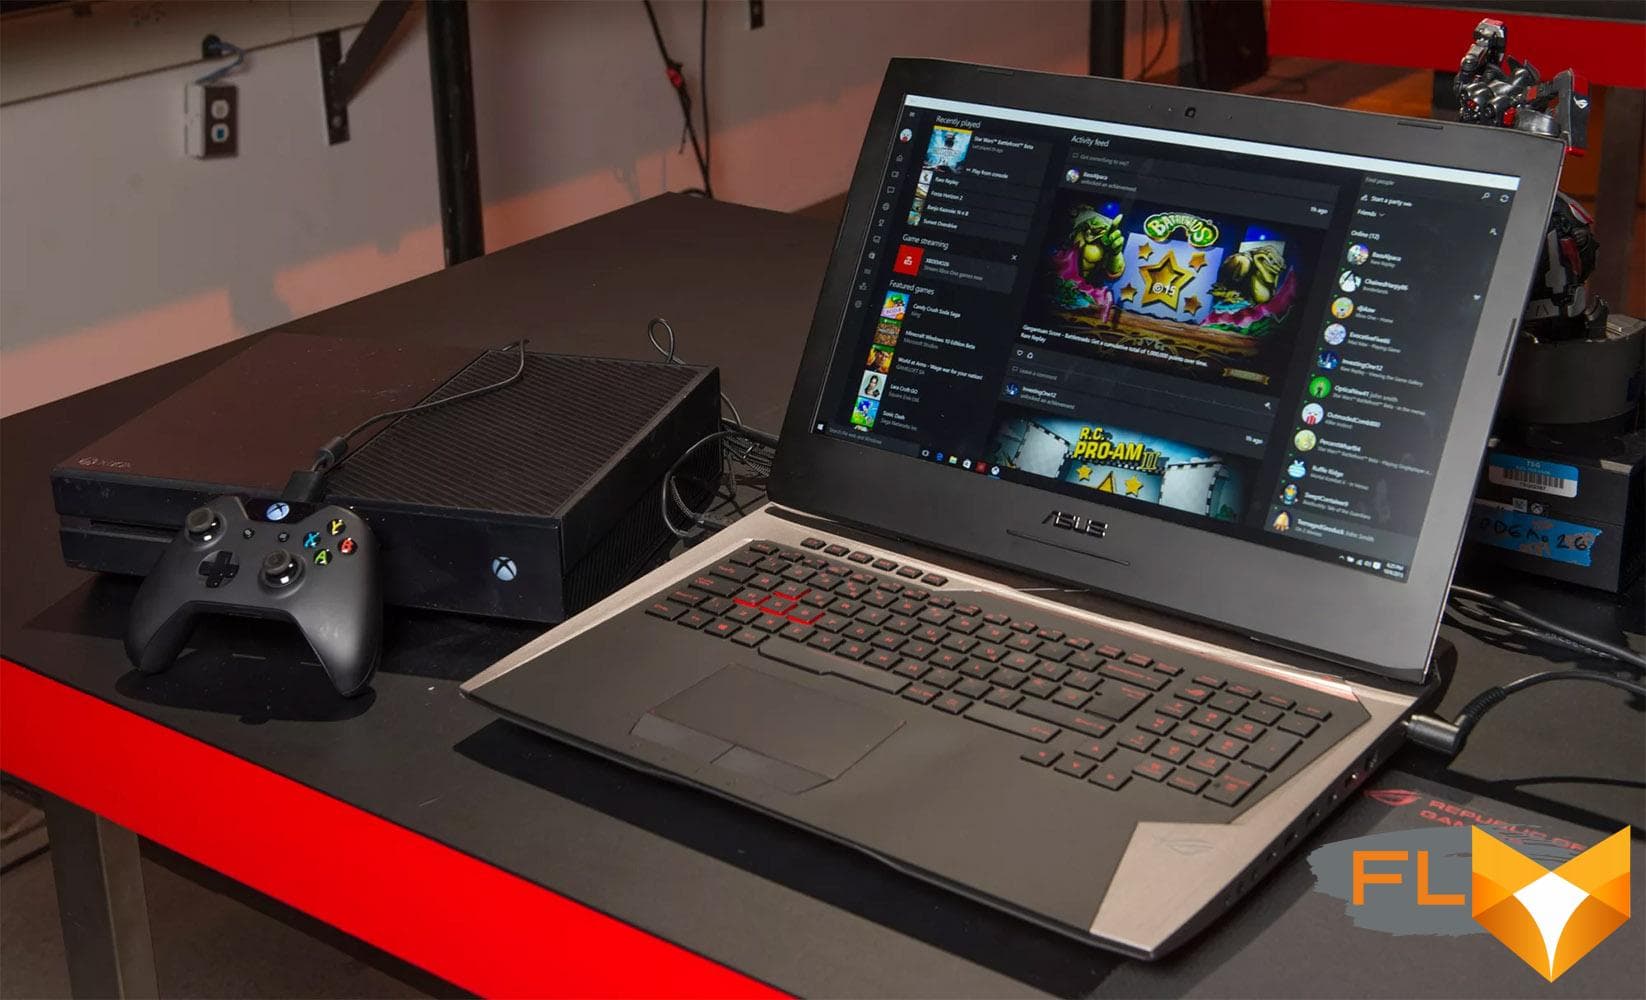
- Open the Xbox app on your laptop and sign in to your account.
- Click on the “Console Streaming” icon on the left-hand side of the app.
- Select your Xbox console from the list of available devices.
- Click on “Connect” to start streaming your Xbox games to your laptop.
Congratulations! You’ve successfully learned how to play Xbox games on a laptop. You can now enjoy playing your favorite games on a larger screen and even stream your gameplay to platforms like Twitch or YouTube.
Troubleshooting
If you encounter any issues while playing Xbox games on a laptop, here are some troubleshooting steps you can follow:
- Ensure that both your Xbox console and laptop are turned on and connected to the same Wi-Fi network.
- Make sure that the HDMI cable is connected properly to both the Xbox and laptop.
- Check that you have the latest version of the Xbox app installed on your laptop.
- Restart your Xbox console and laptop if the connection is not established.
Troubleshooting Common Issues with Xbox: A Comprehensive Guide

Are you experiencing issues with your Xbox and need help troubleshooting them? Look no further, as we’ve got you covered. In this article, we’ll show you how to troubleshoot common issues with Xbox in a few simple steps.
Common Issues with Xbox
Xbox can experience a range of issues, including:
- Freezing or crashing during gameplay
- Connectivity issues with Wi-Fi or online services
- Issues with downloading or updating games
- Problems with the controller or peripherals
- Issues with the display or audio settings
Troubleshooting Steps
Here are the troubleshooting steps you can follow to fix common issues with Xbox:
1. Check for Updates
Check for updates for both your Xbox console and the games you’re experiencing issues with. This can fix bugs and glitches that may be causing the problem.
2. Restart your Console
Restarting your console can clear temporary files and resolve issues. To restart your console, go to “Settings” > “Power & startup” > “Restart now”.
3. Reset your Console
If restarting your console doesn’t work, try resetting it to its default settings. This can fix issues with system settings. To reset your console, go to “Settings” > “System” > “Console info” > “Reset console”.
4. Check for Connectivity Issues
If you’re experiencing connectivity issues, check your Wi-Fi connection and make sure it’s stable. You can also try resetting your router.
5. Reinstall the Game
If you’re having issues with a specific game, try uninstalling and reinstalling it. This can fix issues with game files.
6. Check Controller or Peripherals
If you’re having issues with your controller or peripherals, try resetting them or using a different controller or peripheral.
7. Check Display or Audio Settings
If you’re experiencing issues with the display or audio settings, try adjusting them to see if that resolves the issue.
Most Popular Articles

Honor MagicBook View 14 review: Best choice under $1800?
Review laptop Dell XPS 13 9300: almost perfect
Amd and Intel Core Best CPU for rtx 4090 in 2024 Nvidia Geforce Rtx 4090

Dell Latitude 9520: An In-depth Review, Features and Specifications

Unleash Your Gaming Potential with Nvidia GeForce GTX 570

Discovering the Features and Expert Reviews of HP EliteBook 840 G6